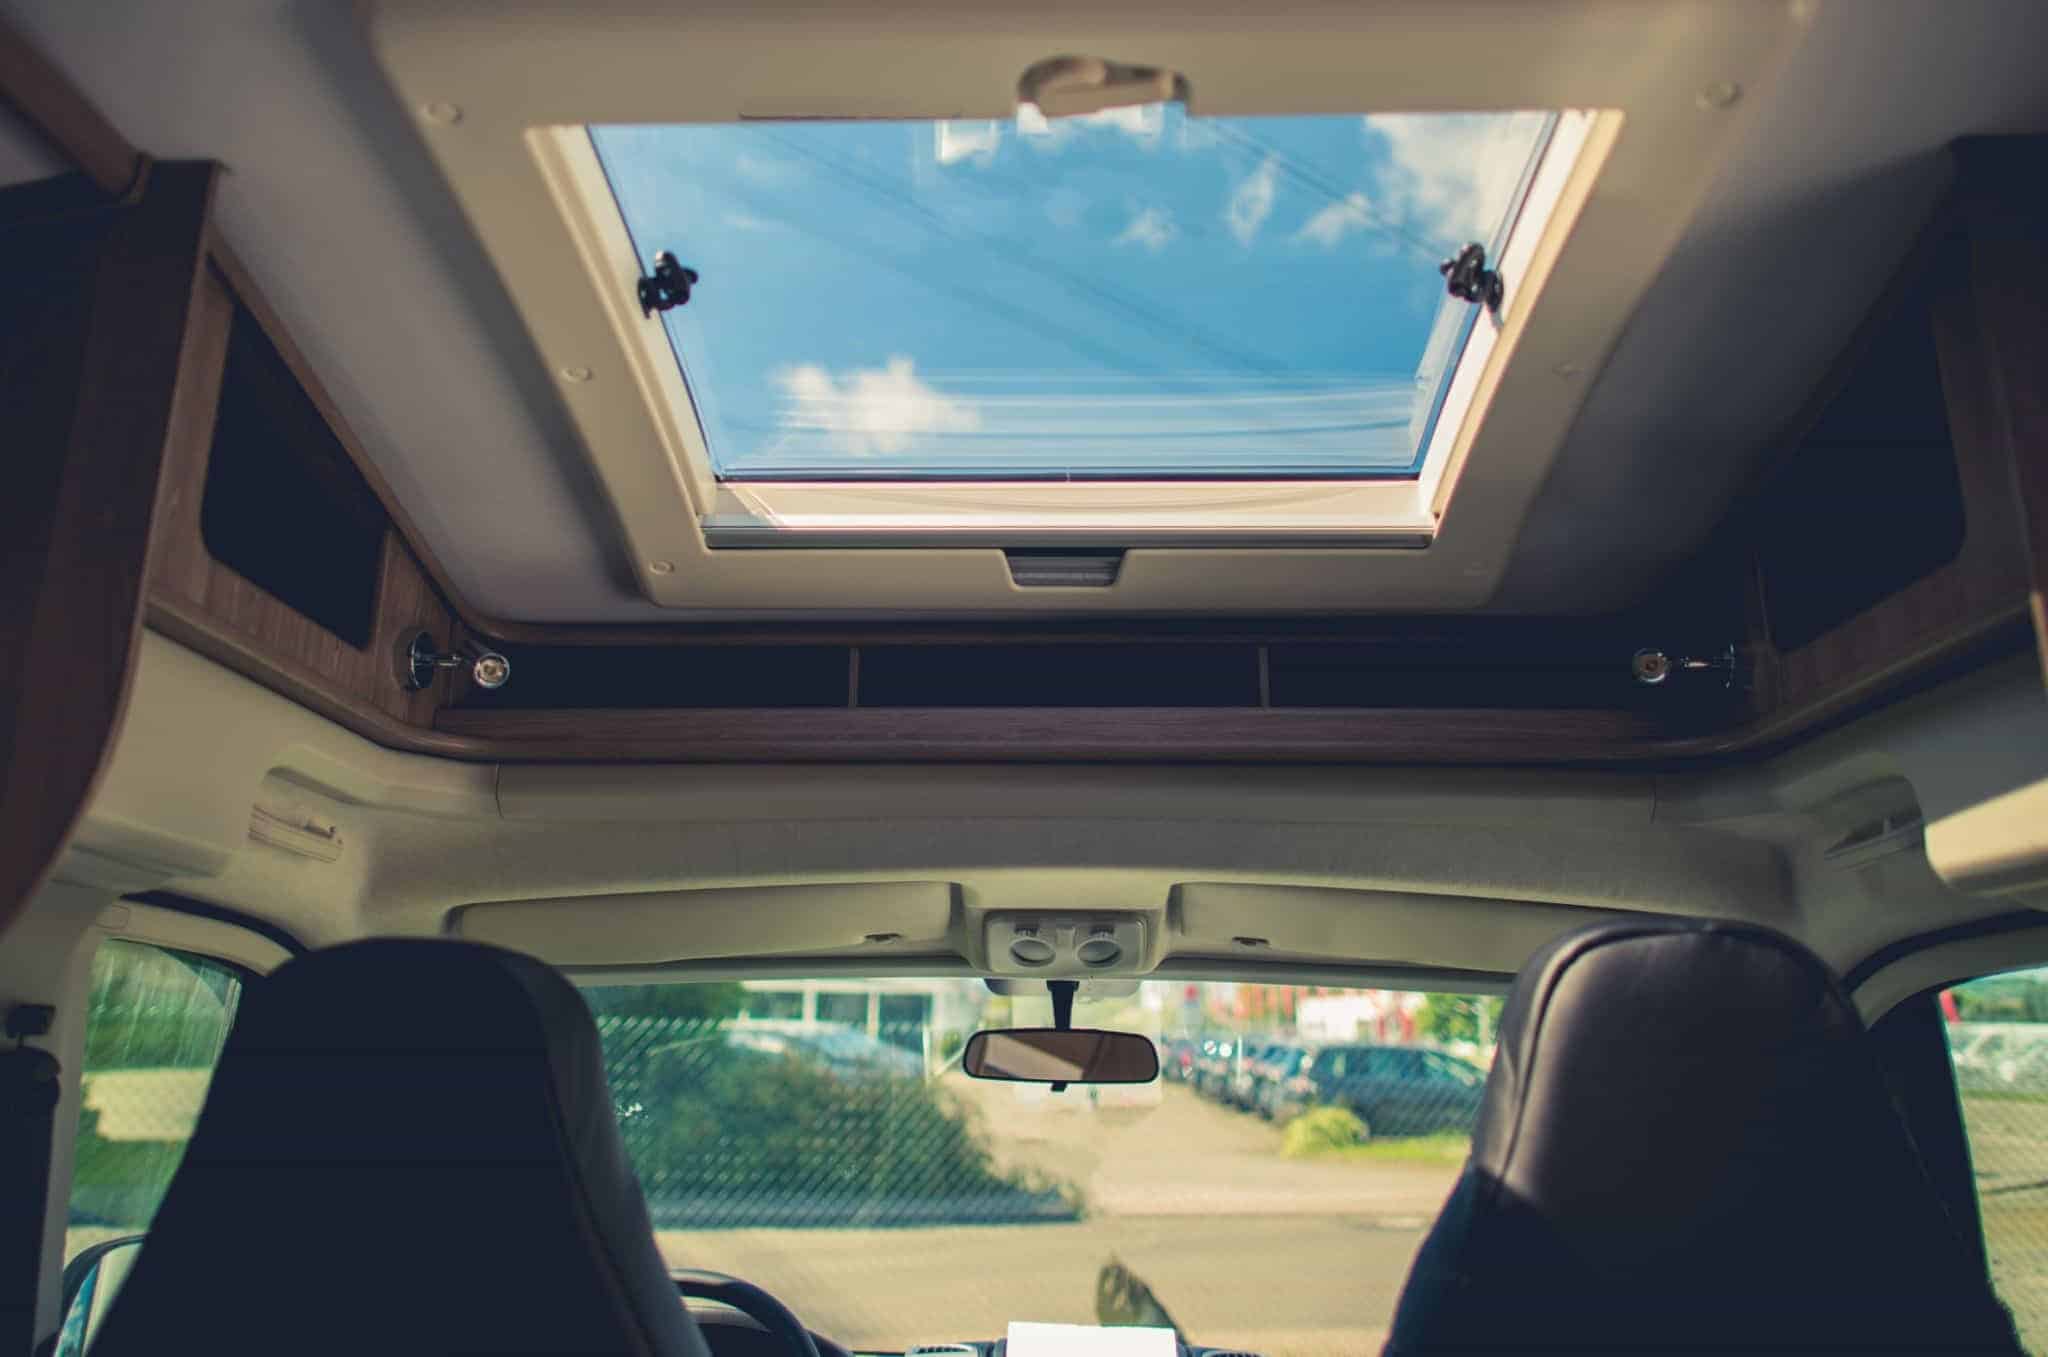
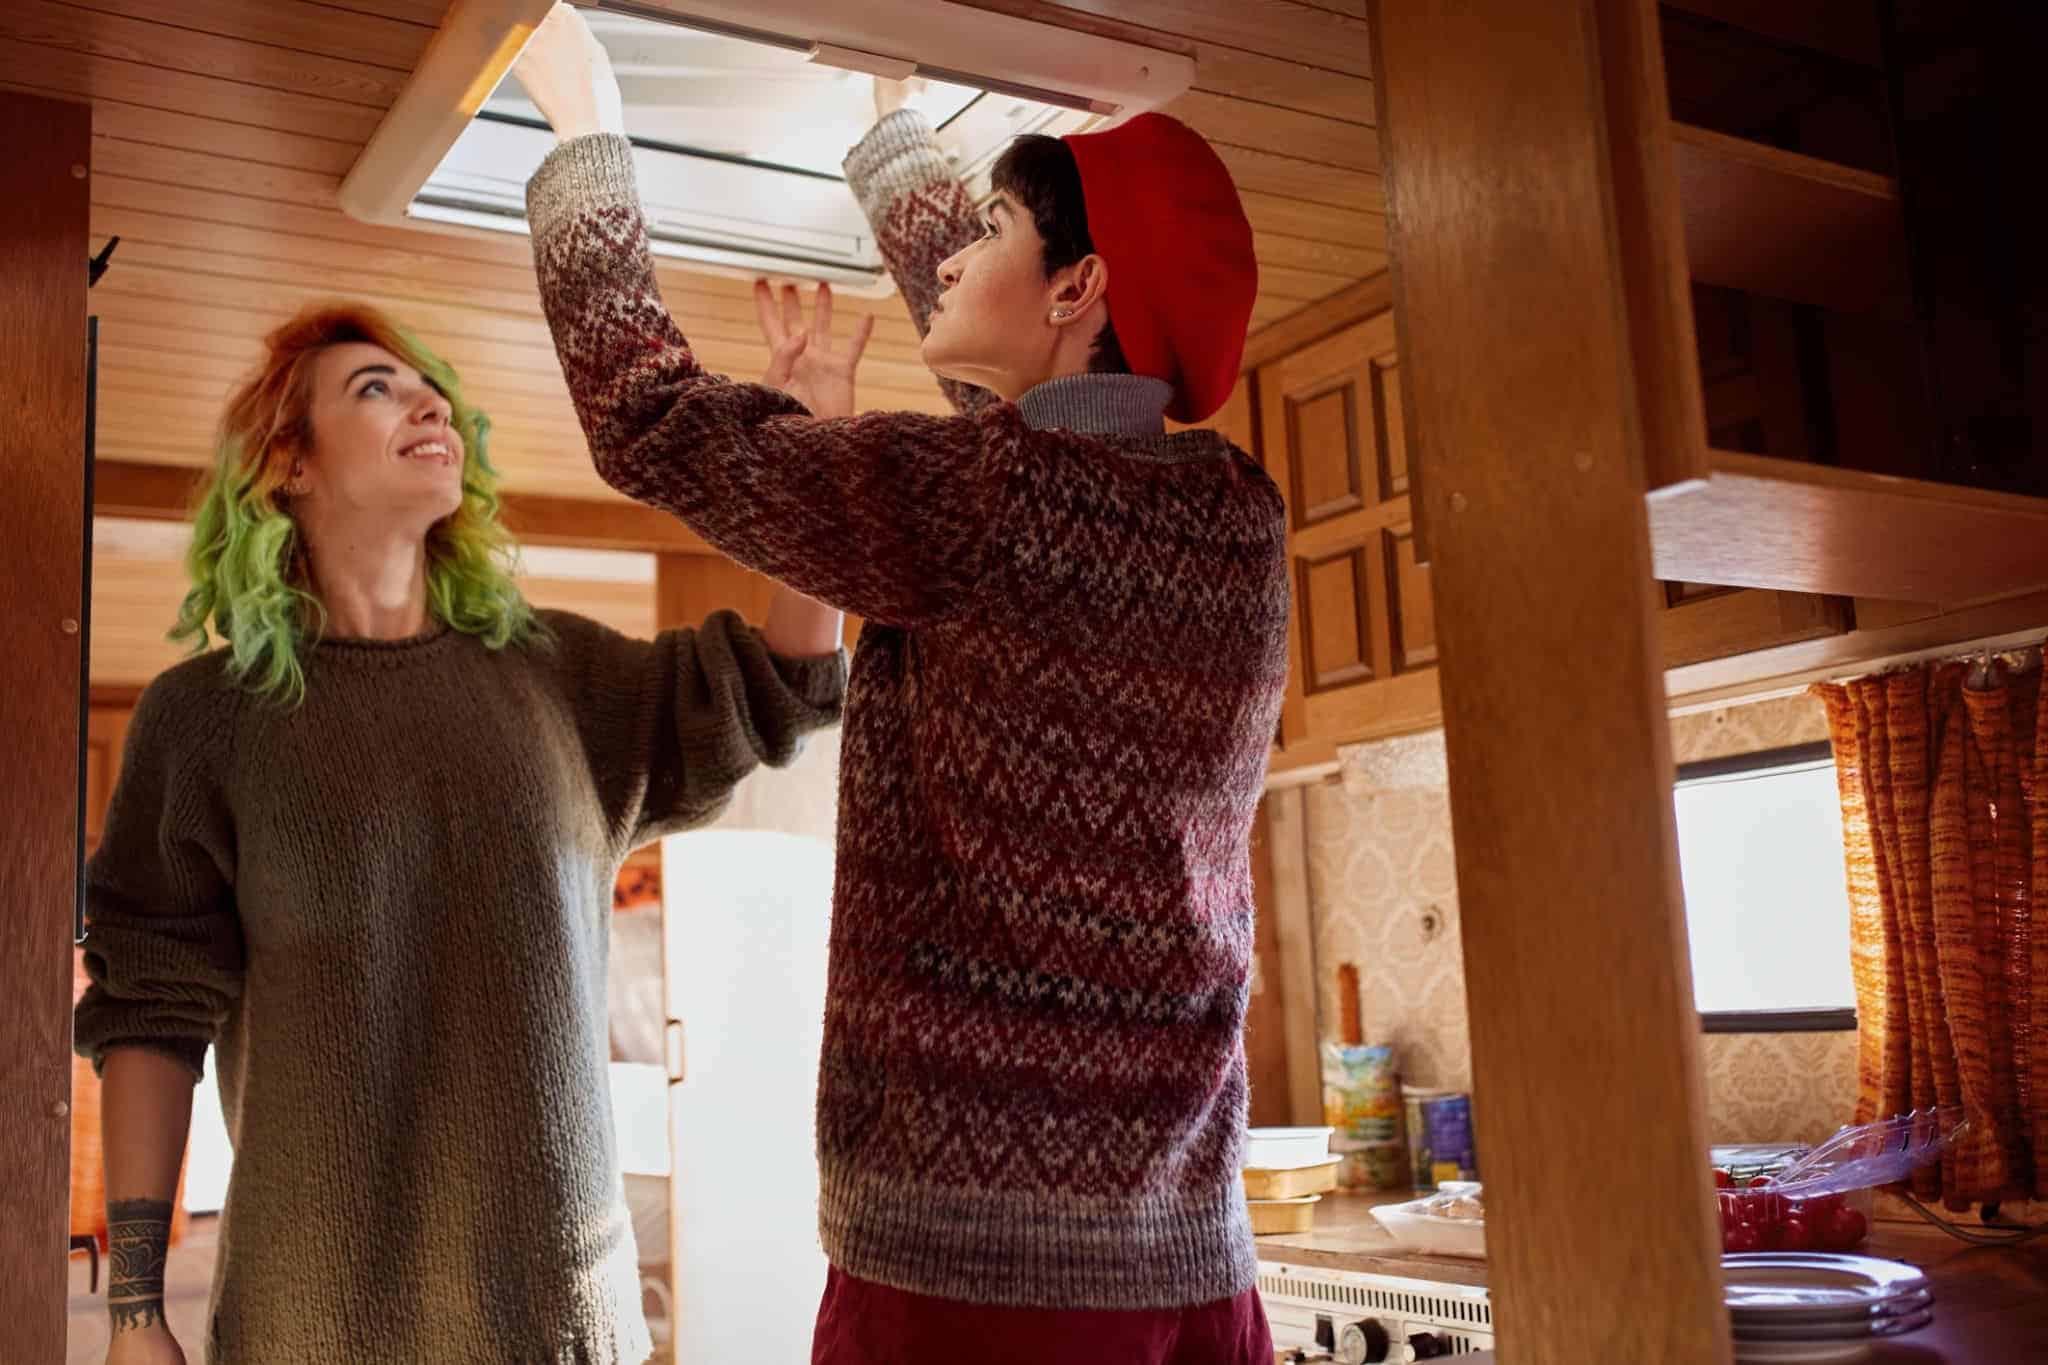
So, you’ve been wanting to know how to replace an RV skylight.
First of all, it’s not a big surprise that a skylight adds natural lighting to your RV. So, it helps you to save on electricity since you don’t need to turn so many lights on just to keep it lit.
Thanks to a skylight, the interior of your RV should appear inviting and bright!
But at the same time, no skylight lasts forever. You need to apply proper care and implement maintenance techniques, so your RV skylight works well and lasts long.
However, in case you need to replace an RV skylight for whatever reason, these tips should be helpful for you. Check out these techniques on how you can replace an RV skylight to make it function like brand new.
Contents
How To Replace An RV Skylight

Over time, your RV skylight may stop working well. With wear and tear, the interior liner may be showing some signs of damage. The liner may also form some mildew, particularly when you have it installed in a humid and damp area like the bathroom.
Additionally, some cracking may arise, especially due to exposure to extreme conditions. The sealant should be free from damage right around the dome. But because of extreme temperatures, the sealant can wear out faster.
So, if it is absolutely necessary to replace your RV skylight, these tips should come in handy. Just be sure that it is the right size or at least close to the size of your old one. You should be able to find a replacement dome suitable for your need from your local RV parts dealer and service center.
Once you have the replacement part ready, you’re all set to get started!
1. Get The Right Sealant
This is a very important step when replacing an RV skylight. You need to make sure that the sealant is exactly the right one you need.
Manufacturers have specific suggestions for the right sealant. So, you need to read the instructions carefully to determine what exactly your skylight requires.
2. Remove The Old Sealant
When you have determined the correct sealant to use, you are ready for the next step – get the old sealant off.
Use a putty knife and gently scrape away the sealant you currently have. Be careful not tocause any damages to the roof as you scrape it off. Once you have removed the sealant, you will be able to access the screws in your old skylight dome.
3. Unfasten the Old Skylight
Next, remove the old screws. You may need some tools depending on what type of screws you are dealing with. But if you have the self-taping type of screws, you will have to reuse these.
As you remove them, check for any signs of damage or corrosion. If they are badly damaged, then you may have to get new ones.
After removing all the screws, you can now remove the old skylight dome. You will have to pry between the roof and the dome, so you need your putty knife for this. Loosen a little at a time, and you should have the entire thing off your roof.
But always be sure to never cause damages to the roof. This is particularly true if what you have is a rubber roof. It can get ripped easily with the wrong technique, so practice caution at all times.
4. Scrape Away The Remaining Sealant
Once again, you will need to get rid of the old sealant, in case there’s more left. Continue scraping away using the putty knife. It may also help to moisten an old rag with Mineral Spirits. This should remove the sealant faster.
But one important word of caution – Mineral Spirits can be damaging to a rubber roof. So, you should be very careful when applying this product to avoid damages.
If you notice that there is still a little bit of sealant left, just leave it. It would be impossible to get every bit off. No worries – your new sealant will conceal the remaining ones.
5. Apply The New Sealant
Using the recommended sealant, cover the old screw holes. You will also need to put new sealant on the roof. But make it a point to check if it is the recommended type since it will not work well.
Apply a single bead of thick sealant around the skylight’s opening. Be sure to cover the old screw holes very well. You will need to do this since the new dome is unlikely to have the very same pattern of screw holes as the old one.
6. Dry-Fit The New RV Skylight
Now, you are ready to place the new skylight on top of the sealant. Give the dome a bit of a wiggle back and forth, which should help to flatten and spread the excess sealant. This should also create a tougher bond between the roof and the new dome.
Make sure that the skylight is properly centered over the roof’s opening.
7. Finishing Touches
At this point, you can now fasten the skylight replacement. Use the self-tapping screws, which should create newer holes to the roof. But be sure to have some additional screws just in case there are more holes in the dome than the old one.
Tighten the screws until they flex the dome’s plastic material. However, do not overtighten them since you may end up causing damages to the dome.
If ever you see excess sealing seeping through the sides of your new dome, it’s okay. This should not be an issue at all.
Finish off by running a thick bead of sealant on the edges of the new skylight. You will also have to add more sealant, which will create some kind of a barrier between the interior of your RV and the water.
Use the sealant, as well, to cover the screw heads. This will securely fasten the skylight to the roof.
And lastly, allow the sealant to dry. Inspect for any spots that may appear to pose some potential problems. Check every few hours and see if there is a need to apply more sealant or not.
Read More: Concertone Rv Stereo Troubleshooting Expert Tips & Techniques
Additional Tips To Keep In Mind
Now that you have replaced your old skylight, the next thing you need to do is to maintain your new one properly.
This means that you should keep the liner clean and get rid of mildew if you see any. Inspect the interior regularly, as well, in case there is premature wear and tear.
And be sure to check the sealant well. Sometimes resealing the edges of your skylight may be required, depending on the condition.
Final Thoughts
We hope you have found these tips on how to replace an RV skylight helpful. Now, you can go ahead and carry out the replacement process just like a pro.
Just make sure you have all the tools you need and apply these expert tips, so the entire process can go as smoothly as possible. Hope this helps!


Regardless of how carefully we care for the skylight or how frequently we maintain it, it will eventually need to be replaced. Check-in on a frequent basis to see whether it needs to be replaced before it’s too late. Thank you for sharing this information.