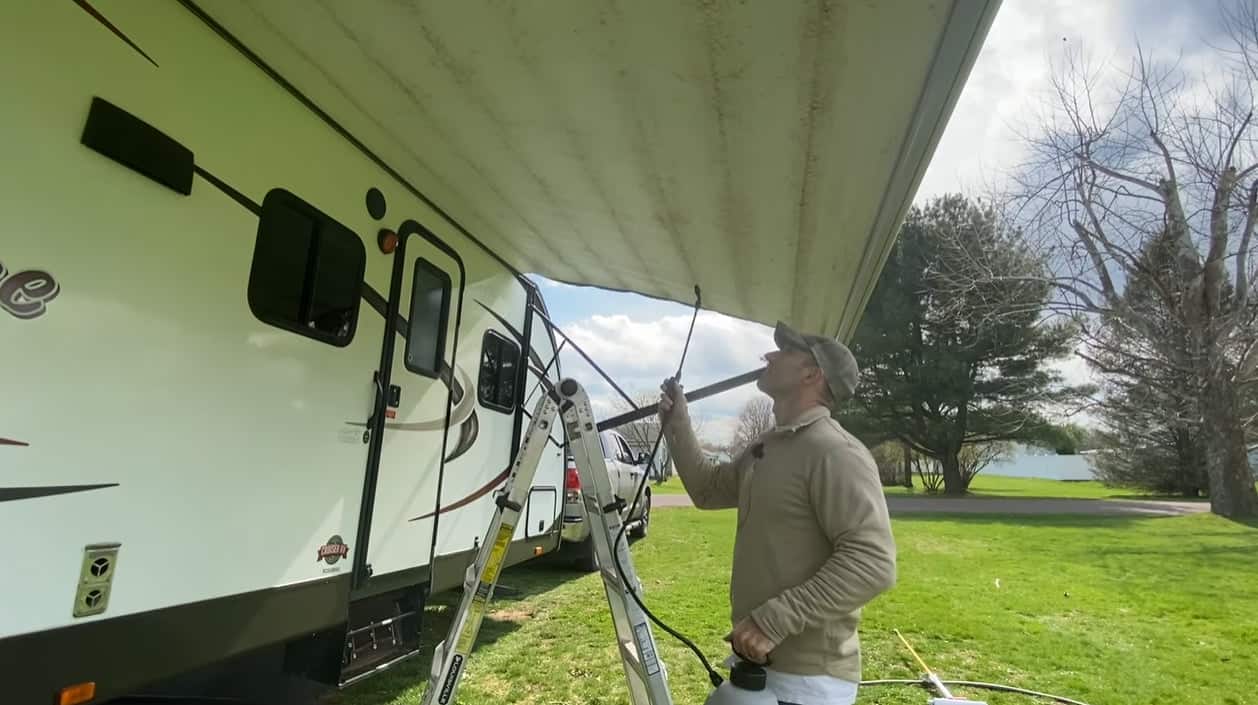
So, you want to know how to clean underside of camper awning. Good for you!
This part of the awning is often neglected as it’s not easily seen.
But the reality is that dirt and debris can get stuck in this area, which can build up over time. When that happens, it can get quite tough to get it squeaky clean quickly.
Thus, the idea is to prevent such buildup by keeping it clean as regularly as possible.
If you are wondering how to clean your camper awning’s underside, you are at the right place. We’ll cover the different materials and techniques you need to get it all cleaned up in as little effort and time as necessary. Let’s get started!
Step-By-Step Tips on How to Clean Underside of Camper Awning
Your RV’s awning is what gives you shade from harsh elements.
Whether it’s sun, rain, or snow, you can rely on the awning to protect you from all of these – so you can relax while spending some time outside the camper.
But here’s the thing: The awning can be prone to nasty mildew, mold, and bacteria over time.
When you keep it rolled up while still wet, these buildups can develop quickly. With this in mind, you have to make it a priority to keep your awning nice and clean with the right tools and techniques.
It sure is not an easy job to do once things get a little out of hand. So, before those icky growths develop, it’s best to roll up your sleeves and get to work.
In fact, we recommend cleaning the awning every couple of years. Yep – even when there’s no mildew or mold buildup. If you keep up with this practice, you can keep your awning looking like brand new and keep it bacteria-free!
So, how do you get started? Here are the steps you need to take.
1. Get your cleaning products ready.
When it comes to cleaning your awning, you need to get certain products to make the job easier for you.
For instance, you can buy a dedicated awning cleaner that’s designed to eliminate tree sap, mildew, and mold from your awning.
But aside from taking care of the dirty job, these cleaning solutions also help to condition the material used for your awning. Depending on the awning fabric, you should choose the right solution that suits your needs best.
Basically, we advise that you stay away from any cleaning product that is abrasive and caustic. These may get the dirt out but at the expense of the fabric. Over time, the fabric will get thinner and less capable of doing its job of giving you shade from tough external elements.
Which brings us to step number two…
2. Consider using gentle, DIY cleaning solutions.
Aside from the price point, DIY cleaning products are safer, gentler to the fabric, yet effective at the same time.
We recommend a non oil-based dish soap, which you can simply mix with water.. And voila! It’s an instant awning cleaner.
Some people ask us if bleach is good to use, especially for discolored awnings. While it is a typical go-to for DIY cleaning products, we advise that you read the manual that comes with your awning before using bleach.
There are split opinions about bleach as other manufacturers are okay with it while others are absolutely not in favor of this material. So, when in doubt, consult the manual and take it from there.
3. Lower your awning.
When you have all the materials ready, it’s time to get your awning down to start cleaning.
Open it and bring it to the lowest possible position. Some folks may easily lower their awning while others would need to use a long brush, rod, or a step stool to bring it down.
Do whatever works for you but just be sure it is lowered well, so you can begin the cleaning process.
4. Clear away debris.
Before you start scrubbing, be sure to clear any debris on the awning.
We recommend that you use a high-pressure hose for this, especially if there is too much debris on the surface.
Hose down both sides to push loose dirt and leaves away. This can take a few minutes or just a few seconds but never skip this part to have the awning surface clear before you start using your cleaning solution.
5. Spray the cleaning solution on the fabric.

Now that your awning is debris-free, it’s time to use your cleaning solution for a deeper clean.
It is best if your cleaning solution is in a spray bottle so you can just spray the product onto the surface. Then, leave it on for about 5 minutes to let it penetrate into the fabric.
This is also good for removing stubborn dirt and stains.
Speaking of stains, you may want to use a special product for eliminating tree sap and similar nasty marks on your awning.
You can opt for this DIY stain remover, which is easy to use, effective, and relatively inexpensive to buy. Our favorite ones include turpentine, peanut butter (Yes, it works!), Clorox spray, and isopropyl alcohol.
But just a word of caution before you use these products. You may want to test a small amount first on the awning to make sure it won’t leave undesirable residue or cause discoloration to the fabric.
Plus, if you are using bleach and other harsh chemicals, never wash your awning over plants or vegetation. The runoff from the chemicals can destroy your plants, so be sure to do the cleanup as far away from them as possible.
6. Wipe the cleaning solution out.
The keyword here is WIPE. Never scrub but only stick to gentle wiping.
After leaving the cleaning product on, you can wipe it all off using a moist rag or sponge. If there are tight areas, you can improvise with a car wash brush or something similar to reach these difficult spots.
However, if you have an acrylic awning, a stiff brush should be fine to use. Scrub as firmly as possible to get all that gunk out. In the case of a vinyl awning, a soft brush such as an old toothbrush should work magic on it.
7. Rinse and air-dry.
With all the cleaning solution wiped out of the surface, you can now rinse it all off with water.
Use a pressure washer or a hose to give your awning a thorough washing and rinsing. Be sure to remove all traces of the cleaning product. This is particularly true if you used a strong chemical such as Clorox or bleach. The last thing you want is to leave these chemicals behind, which can wreak havoc to the material.
When you are certain that there is absolutely no chemical left, you can begin air-drying the awning. Some people use certain fabric protectants to repel dirt while providing some UV protection. However, this is all optional for added protection to the fabric.
Read More: Should Trailer Be Level When Towing? Surprising Answer You Never Knew!
Final Thoughts
Cleaning your camper’s awning is a must when it comes to ensuring its durability and performance.
We highly advise that you clean the awning’s underside and surface every couple of months when you use the camper on a regular basis. Some people clean it every 2 years, but this is only when your awning has some kind of extra protection that keeps it less prone to dirt and damage.
So there you have it – quick and easy ways on how to clean underside of camper awning, as well as the top portion of the fabric. Now, you are all set to keeping your awning nice and clean to make sure it lasts for a very long time!


