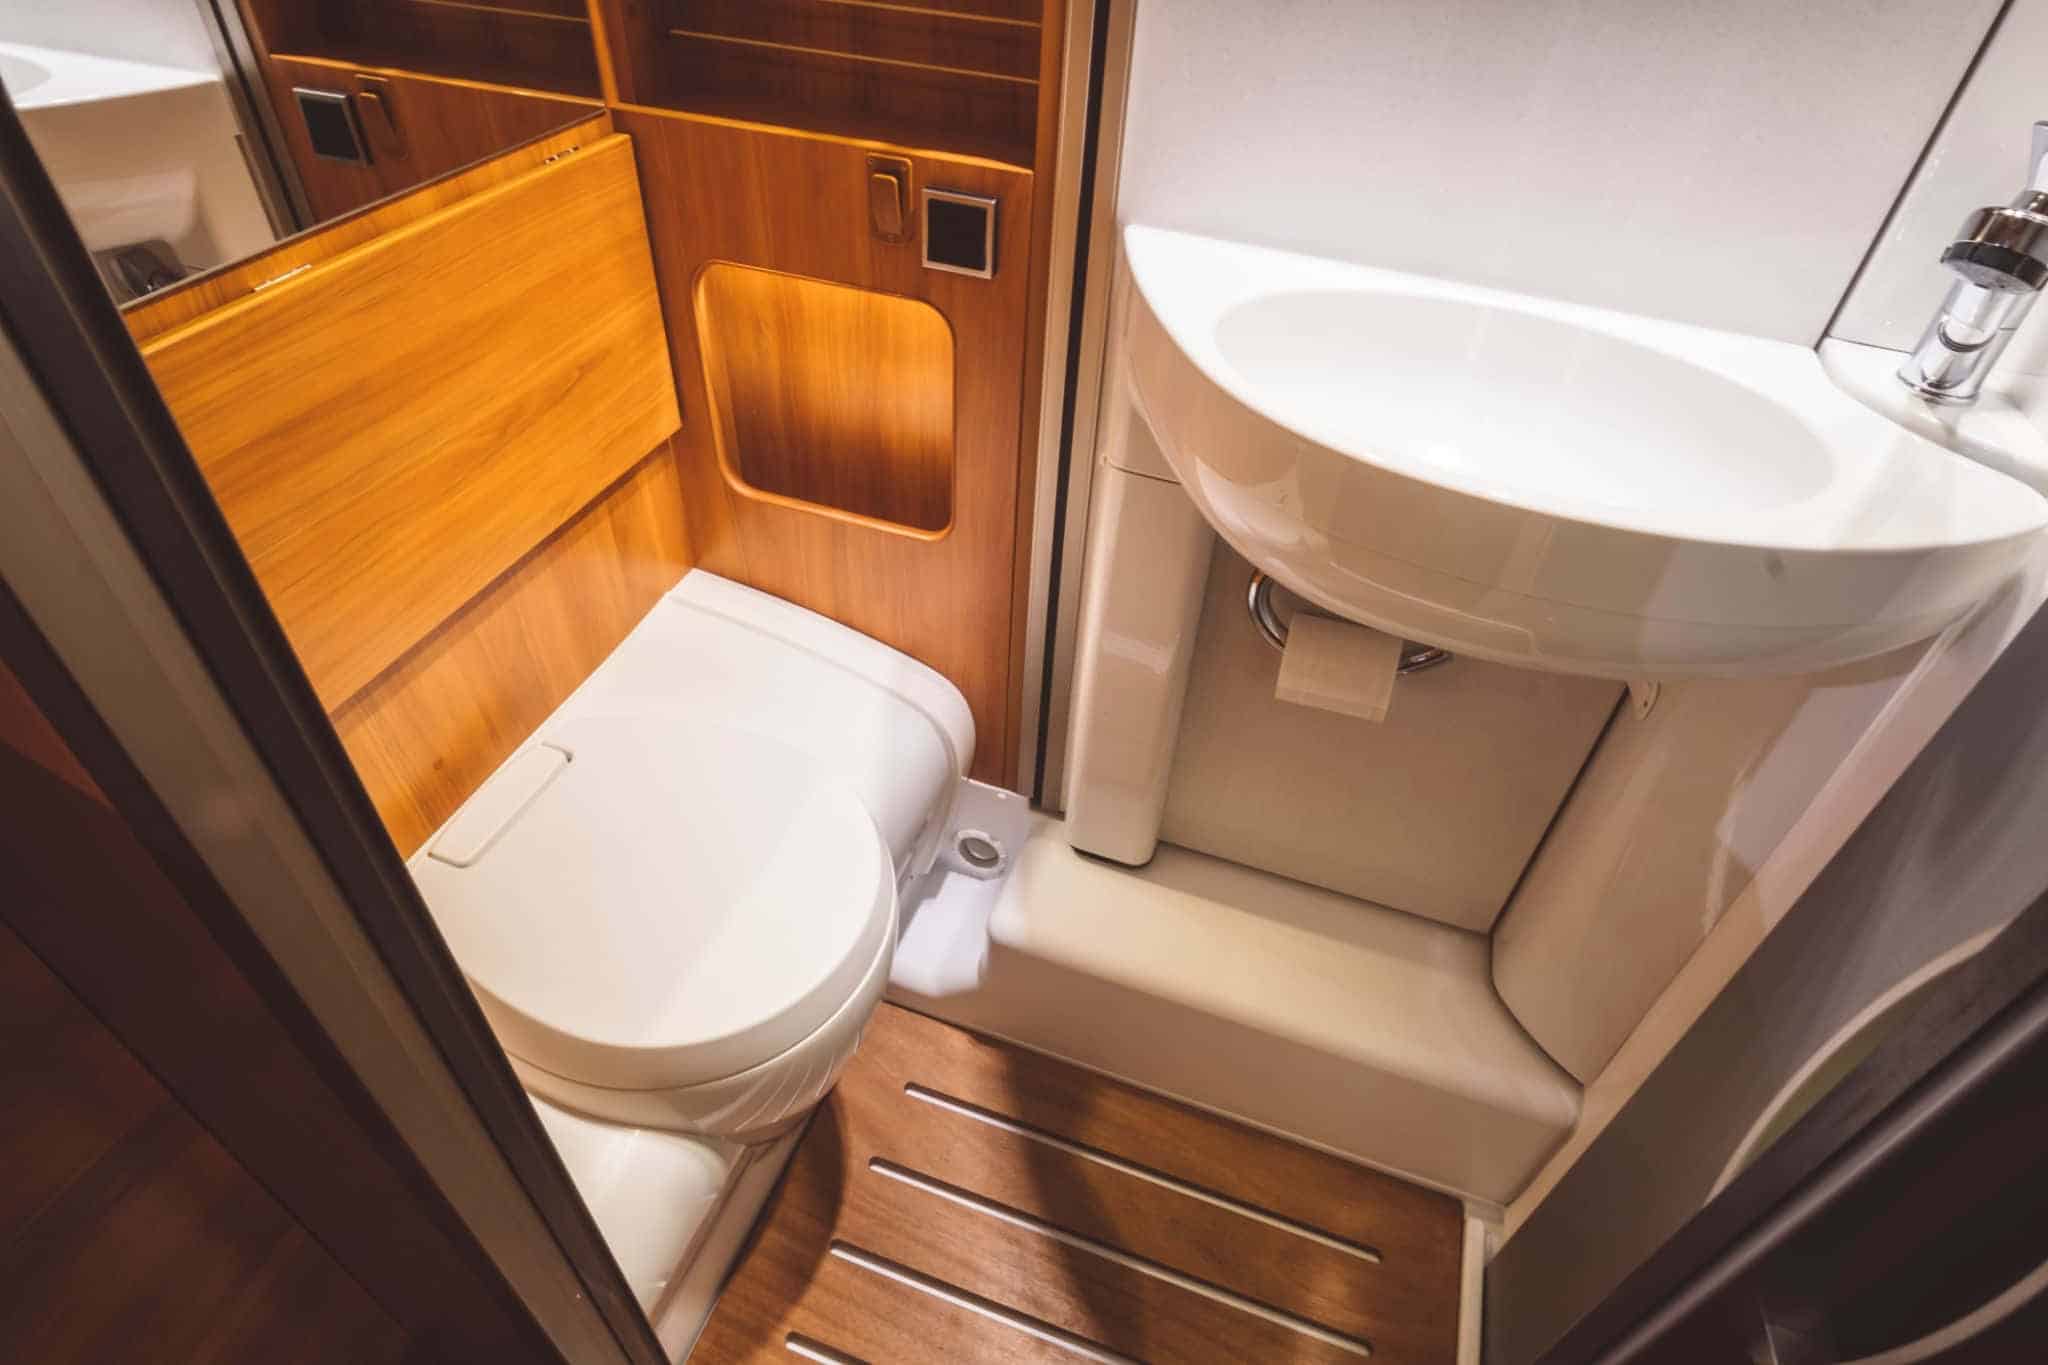
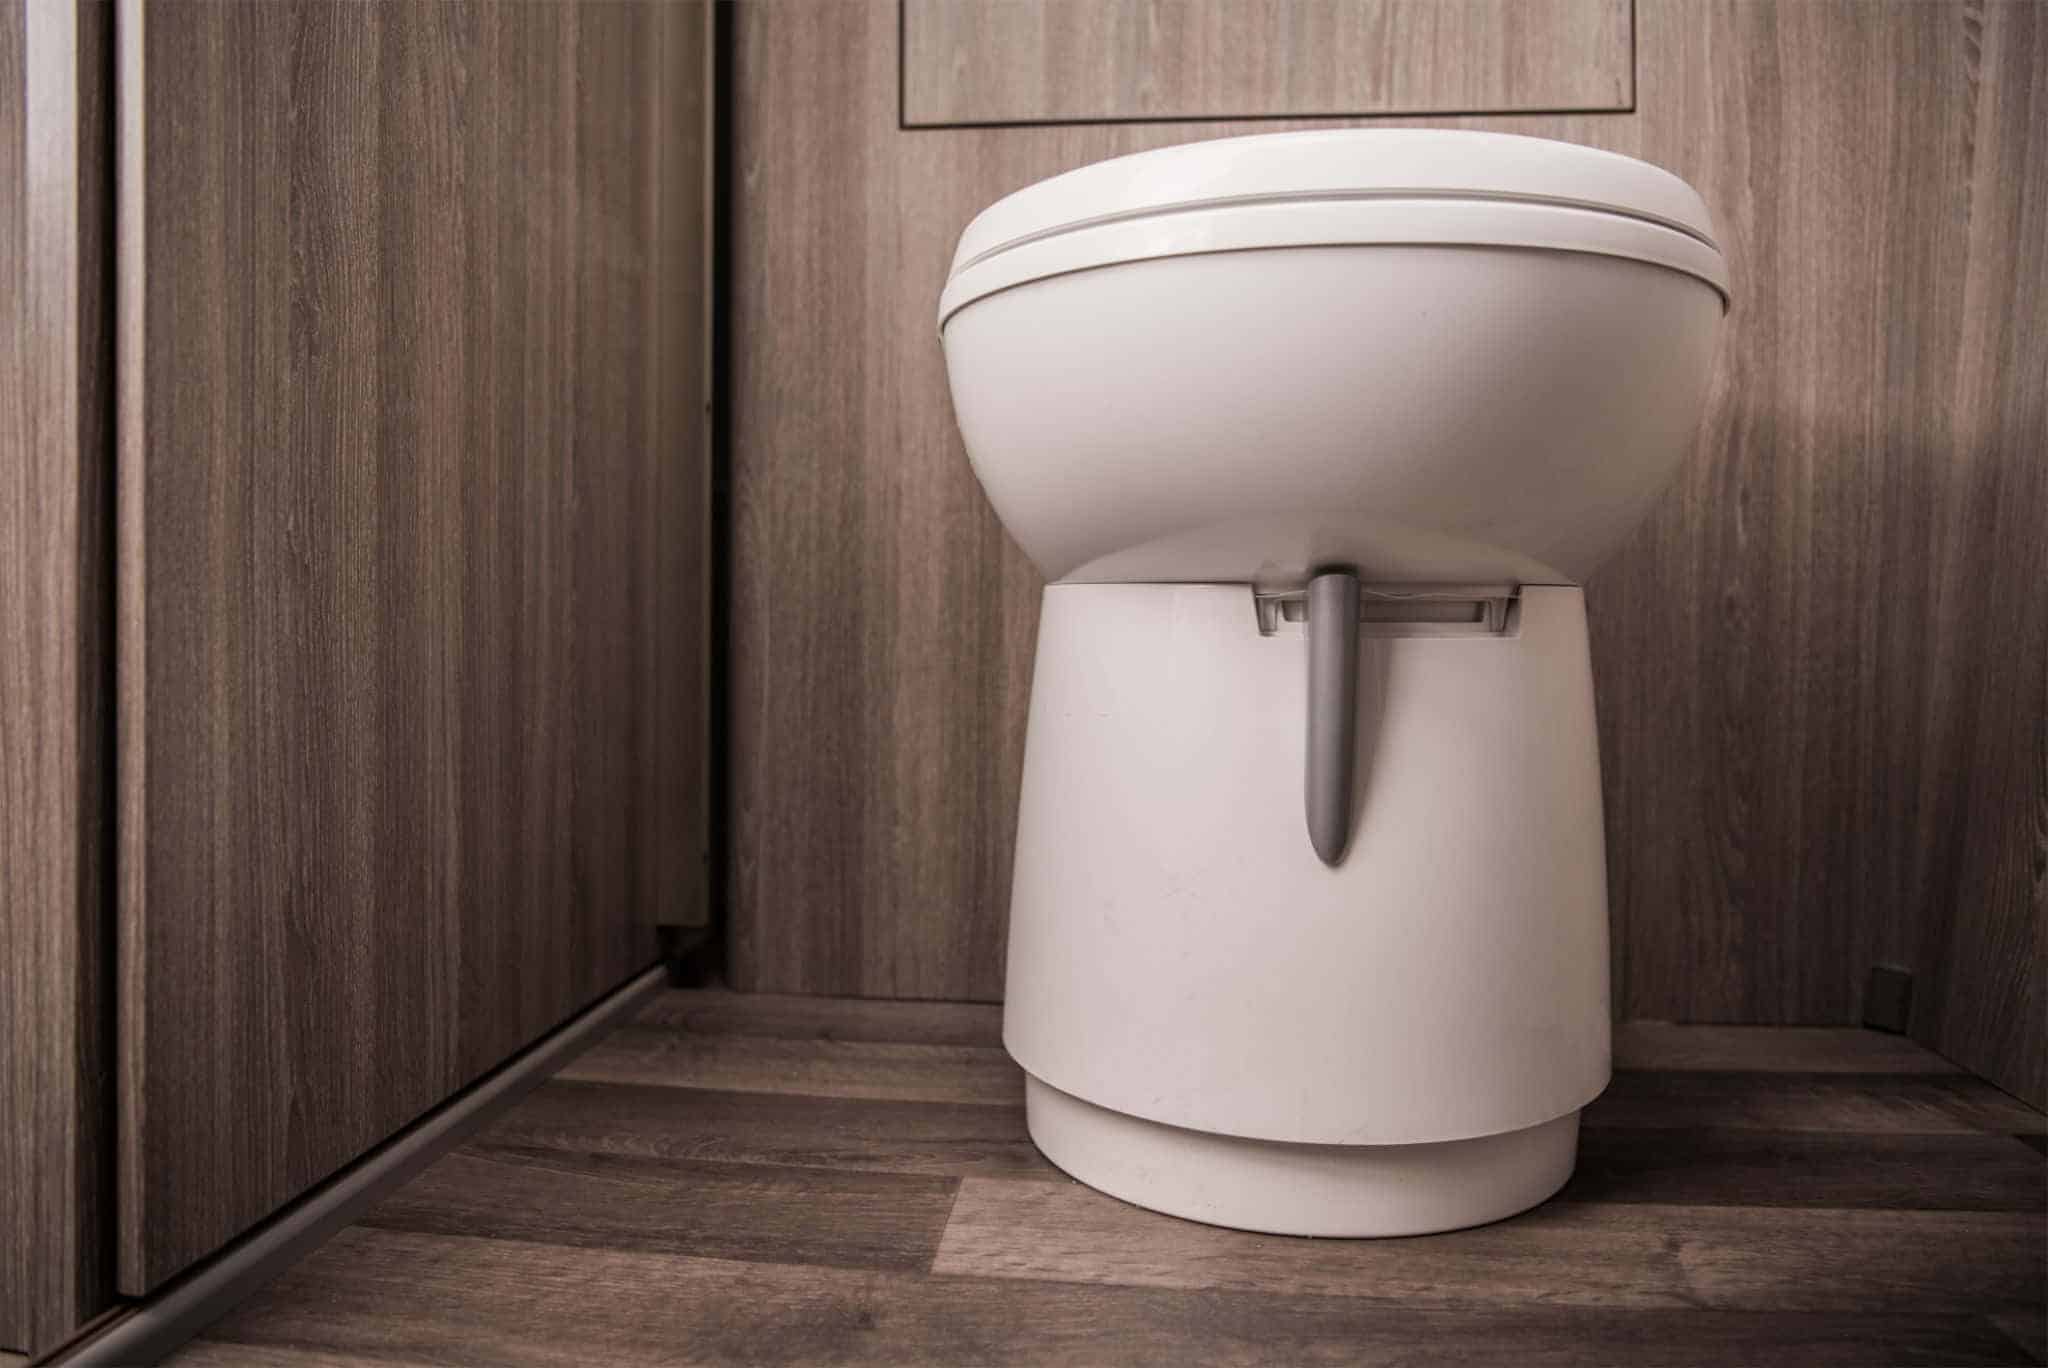
So, do you want to replace RV toilet with standard toilet?
There are many reasons why you may want to do this. For instance, RV toilets are usually quite small. After all, this helps you to save some space in your rather tight and compact vehicle.
Additionally, water use is limited when you have an RV toilet, which helps to conserve water at the same time.
But if you are absolutely certain about upgrading your RV toilet and looking to use a standard toilet instead, these tips and tricks will come in handy for you. Let’s get started!
Contents
How To Replace RV Toilet With Standard Toilet

If you are absolutely certain that a full-sized, standard commode is what you need, then you have to get ready for what this task involves.
Here are the different steps required to perform this task well and achieve the results you want.
1. Prepare all the necessary tools.
The first thing you need to do is to head over to your home improvement store and pick up some items required for the toilet replacement and installation. Here are a few things to buy (or you may already have some of these available).
- New toilet
- Toilet shut off valve
- Toilet flange bolts
- PVC toilet flange
- Toilet supply line
- Silicone caulk
- ¼-inch washers, nuts, flat head bolts (stainless steel)
- Saber saw
- Wax ring
- Drill
Other tools necessary:
- Tape measure
- Market or pencil
Once you have all of these tools and equipment, you are all set for the next step.
2. Select the location.
If you want to place the standard toilet in the old location of the RV toilet, it may not work unless the space is already big enough.
Otherwise, you may check for the appropriate location for the new installation. You may have to go under the trailer and locate the best position of your standard toilet without any obstructions.
The old spot may require you to remove the tank that holds the black-water since this is no longer necessary. In this case, you have to get rid of the tank support attachments and disconnect the tank using tools to loosen the hose clamp.
Ideally, you should have about 10 inches (circular area) that is completely unobstructed. This way, there is enough room for all the toilet waste to come through your floor.
As for the position you need for your toilet discharge flange, it should be about 12 inches or a foot from the wall. Mark the location well. But you can get a better measurement once you have your new toilet since the dimensions will depend on how big or small it is.
Center the toilet flange on the mark you have made. Mark around the flange’s exterior, and this will guide you to the hole you need to cut. Sometimes, the old toilet’s hole may be equal to the new hole required. If not, just use your saber saw after patching the previous hole.
3. Check the water supply.
Place the shut off valve for your toilet in a convenient position on the wall. It should be a couple of inches or so off the floor.
Shut the water off to your trailer, in case it is currently connected to your water supply.
Then, tap into your present water line. Then, plumb it to the shut off valve of your new toilet. It should be easier to work on this if the new toilet is exactly where your old one was. This way, you can simply use the flexible water supply line that is nearby.
4. Install the new toilet.
If the subfloor requires some repairs, you should do so now.
Put a small amount of silicone caulk on the area surrounding the hole’s upper edge. Place the toilet flange right into the hole while making sure the notches required for the toilet bolts are parallel with the wall right behind your toilet.
Push it quite firmly into your silicone caulk. Drill through the holes and use your flat head bolt in every hole to secure it in place.
Go under the trailer once more and place the nut and washer on every bolt. Tighten it very well to hook up the flange to your toilet floor.
Add in a flange bolt in the slots of the flange’s every side. Place a wax ring into the correct position and gently lower the new toilet correctly onto your wax ring. Allow the toilet to squish perfectly onto your wax ring to keep it in place.
Then, tighten the nuts that will lock the toilet securely onto the flange.
Use the flexible toilet supply line to connect your tank to the shut off valve.
Read More: How To Move A Fifth Wheel Trailer Without A Hitch – Best Solutions For You!
Finishing Touches To Consider
When you have properly installed the new toilet, it’s time to test out the flush.
After turning the water supply back on, try flushing the toilet. Inspect the area below it for leaks including the sections around the filling and the rig’s basement.
If there are no leaks at all, then you are in the clear. You have just completed the simple replacement of your RV toilet to a standard toilet! Congrats!
Do keep in mind that replacing an RV toilet is not always an easy thing to do. Sometimes, there are adjustments to be made to the water connection in case lengthening or shortening it may be necessary.
New mount holes may also be required, as well as additional need for ventilation or electric wiring. So, you need to check the new toilet carefully including its specifications and dimensions, as well as extra requirements before you make a purchase.
And most importantly, follow the steps we have outlined above. These are helpful for a basic installation process, assuming that the new toilet will be placed in the exact same location and without complex adjustments needed.
By doing so, you can easily replace RV toilet with standard toilet and achieve the result you wanted.


